
DIY Paper Crafts ● 18 Nov 2026
How to Make Paper Crafts Look Professional: 10 Essential Tips
Have you ever created a beautiful paper craft but felt that the finished result didn't look as polished as the projects you see in professional craft studios? Perhaps the edges were slightly uneven, the folds didn't look sharp, or a little excess glue made the final design appear messy.

The good news is that creating professional-looking paper crafts doesn't always require expensive materials, advanced equipment, or years of experience. Often, the difference between an ordinary handmade project and an impressive paper creation comes down to small details, careful techniques, and a little patience.
Paper crafting is a wonderful way to transform simple sheets of paper into decorative flowers, greeting cards, gift boxes, origami sculptures, wall decorations, and beautiful handmade gifts. With the right approach, even a beginner can achieve cleaner, more attractive results.
Whether you enjoy origami, DIY decorations, scrapbooking, paper flowers, or 3D paper models, these 10 essential paper crafting tips will help you improve your technique and make your creations look more professional.
1. Choose High-Quality Paper for Your Project
The foundation of every beautiful paper craft is the paper itself. Even excellent folding and cutting techniques can produce disappointing results if the paper is unsuitable for the project.
Different paper crafts require different paper types and thicknesses.
For example, lightweight origami paper is excellent for intricate folds, while thicker cardstock works better for greeting cards, gift boxes, and structured decorative projects.
Here is a simple guide:
- 70–90 GSM: Suitable for traditional origami and lightweight folding projects.
- 100–120 GSM: Good for simple paper decorations and creative designs.
- 120–180 GSM: Suitable for paper flowers, layered crafts, and decorative elements.
- 180–220 GSM: Useful for greeting cards, boxes, and many 3D paper crafts.
- 220–300 GSM: Better for sturdy bases and projects requiring additional structure, provided the design supports thicker paper.
Always consider the folding requirements of your project before choosing thick paper. Heavier cardstock may look premium, but it can crack when folded without proper preparation.
Professional tip: Choose paper with consistent colour, smooth texture, and an appropriate thickness. If you are unsure, test a small piece before starting your complete project.
2. Use the Right Tools for Cleaner Results
Professional-looking paper crafts are easier to achieve when you use tools designed for accurate cutting, folding, and assembly.
You don't need an expensive crafting studio. A few essential tools can make a noticeable difference.
Consider keeping these supplies in your craft workspace:
- Sharp scissors for smooth cutting.
- Precision craft knife for detailed shapes.
- Self-healing cutting mat for safe and accurate cutting.
- Metal ruler for straight edges.
- Bone folder for crisp creases.
- Scoring tool for preparing fold lines.
- Fine-tip glue applicator for controlled adhesive application.
- Tweezers for positioning small paper pieces.
For traditional origami, your hands and a suitable sheet of paper may be all you need. However, additional tools become helpful when working on more detailed paper art and mixed-media crafts.
Professional tip: Keep your tools clean, organised, and in good condition. Replace dull cutting blades when necessary and always use a suitable cutting surface.
3. Measure and Cut Your Paper Accurately
Uneven cutting is one of the most common reasons paper crafts look unfinished.
Even a small difference in the dimensions of repeated paper pieces can affect the overall symmetry of a design. This becomes particularly noticeable when making paper flowers, modular origami, decorative boxes, or geometric patterns.
To improve your cutting accuracy:
- Measure the paper carefully before cutting.
- Mark cutting points lightly with a pencil.
- Use a ruler when working with straight edges.
- Cut slowly instead of rushing through the material.
- Check that repeated pieces have matching dimensions.
- Remove small rough edges before assembly.
For intricate shapes, use small precision scissors or a craft knife with an appropriate cutting mat.
If your project requires several identical paper pieces, prepare a template and use it to maintain consistent measurements.
Professional tip: Always cut a little more carefully than you think is necessary. Clean edges make the entire finished design look more refined.
4. Create Sharp and Consistent Folds
Folding is one of the most important techniques in origami and paper crafting.
A poorly folded paper model can look uneven, even when the design itself is beautiful. Sharp, consistent folds help create clean lines, balanced shapes, and a more professional appearance.
Follow these simple techniques:
- Align the paper edges before making a fold.
- Bring corners together accurately.
- Press the fold gently from the centre towards the edges.
- Use a bone folder when working with suitable cardstock.
- Avoid repeatedly folding and unfolding the same area unnecessarily.
- Make sure repeated folds follow the same direction and measurements.
For thicker paper, consider scoring the fold line first. Scoring creates a controlled crease that makes folding easier and helps reduce unwanted cracking.
In origami, precision matters even more because each fold contributes to the final structure.
Professional tip: Don't force a fold when the paper edges are not aligned. Open it carefully and correct the position before pressing the crease.
5. Apply Glue Carefully and Avoid Messy Marks
Too much glue can quickly ruin an otherwise beautiful paper craft.
Excess adhesive may create visible stains, wrinkles, raised areas, or uneven surfaces. This is especially noticeable on coloured paper, decorative cardstock, and delicate paper flowers.
The secret is to use the correct adhesive and apply it in small amounts.
Different adhesives are suitable for different projects:
- Glue stick: Useful for lightweight paper and flat decorative layers.
- White PVA glue: Suitable for many paper-to-paper bonds and structural assemblies.
- Double-sided tape: Helpful for clean, flat joins and card-making projects.
- Craft glue with a fine nozzle: Useful for small details and precise applications.
For better results:
- Apply a thin, even layer of adhesive.
- Keep glue away from visible edges.
- Position the paper carefully before pressing.
- Remove excess glue immediately using an appropriate method.
- Allow the assembled section to dry before moving it.
Professional tip: Test the adhesive on a spare piece of the same paper first. Some glues can cause lightweight paper to wrinkle or change appearance.
6. Maintain Consistent Colours and Patterns
Colour selection can make a simple paper craft look elegant and professionally designed.
Using too many unrelated colours or patterns can make a project appear visually crowded. On the other hand, a coordinated colour palette creates a more balanced and attractive result.
Try these colour combinations:
- White, cream, and gold for elegant decorations.
- Pastel pink, lavender, and mint for delicate floral crafts.
- Blue, white, and silver for modern decorative projects.
- Green, beige, and brown for nature-inspired paper art.
- Bright rainbow colours for playful children's crafts.
You can also combine plain paper with patterned sheets to create interesting layers and visual contrast.
For example, a handmade paper flower arrangement can look more attractive when the petals use complementary shades instead of completely different colours.
Professional tip: Choose two or three main colours and one optional accent colour before beginning your project. This simple planning technique helps create a more coordinated final design.
7. Pay Attention to Symmetry and Proportions
Symmetry is an important part of many professional-looking paper crafts.
When the left and right sides of a design have similar shapes and proportions, the finished project often looks cleaner and more balanced.
This is particularly important for:
- Origami animals and birds.
- Paper butterflies.
- Decorative flowers.
- Gift boxes.
- Paper baskets.
- Geometric wall decorations.
- Modular 3D origami sculptures.
Before assembling your project, compare matching pieces and check that they have similar sizes and shapes.
For modular origami, consistency is particularly important. If some folded units are larger or tighter than others, the completed structure may look uneven.
However, remember that not every craft needs perfect symmetry. Some artistic designs intentionally use asymmetrical arrangements to create a modern and creative appearance.
Professional tip: Step back and look at your project from a distance. Small alignment problems that are difficult to notice up close may become obvious when you view the complete design.
8. Add Layers and Details Without Overdecorating
Small decorative details can transform an ordinary paper craft into something special.
Layering is a popular technique used in greeting cards, paper flowers, scrapbook designs, wall art, and handmade gift decorations.
You can improve your creations by adding:
- Different paper textures.
- Raised decorative elements.
- Carefully placed paper cut-outs.
- Small folded embellishments.
- Decorative borders.
- Ribbon or thread accents.
- Subtle colour contrasts.
For example, a simple handmade greeting card can look more sophisticated with a layered paper flower, a clean border, and a neatly positioned message.
However, avoid adding too many decorative elements. Every additional detail should support the overall design rather than distract from it.
Professional tip: Complete the main structure first. Once the basic design looks balanced, add a few carefully selected decorative details.
9. Give Your Paper Craft a Clean Final Finish
Finishing is what separates a project that looks unfinished from one that feels ready to display or gift.
After completing the main assembly, spend a few minutes checking the entire creation.
Look for:
- Visible glue marks.
- Uneven edges.
- Loose paper pieces.
- Unwanted pencil marks.
- Inconsistent folds.
- Wrinkled sections.
- Unbalanced decorative elements.
Carefully correct any small issues you notice.
For layered crafts, check that all pieces are firmly attached. For origami sculptures, gently adjust the shape so that the model stands or displays correctly.
You can also use a clean, dry cloth or soft brush to remove dust from the finished piece.
If you are making paper crafts as gifts, consider presenting them in a suitable box or protective packaging. A thoughtful presentation can make handmade creations feel even more special.
Professional tip: Never rush the final inspection. A few minutes of careful finishing can significantly improve the overall appearance of your work.
10. Practise Regularly and Learn from Every Project
One of the biggest secrets behind professional-looking paper crafts is consistent practice.
Experienced paper artists don't achieve excellent results simply because they have expensive tools. They develop their skills through repeated folding, cutting, shaping, experimenting, and correcting mistakes.
Instead of trying a very complicated project immediately, start with smaller designs and gradually increase the difficulty.
For example:
- Begin with simple origami flowers.
- Practise making paper butterflies.
- Try decorative paper lanterns.
- Experiment with handmade paper boxes.
- Explore modular origami designs.
- Progress towards detailed 3D paper sculptures.
You can also photograph your completed projects. Comparing older creations with newer ones helps you recognise improvements in your cutting, folding, colour selection, and overall finishing.
Don't be discouraged by mistakes. Every project teaches you something useful, and even experienced crafters continue discovering new techniques.
Professional tip: Try improving one specific skill with every new project. Focus on better folds in one project, cleaner cutting in another, and more accurate assembly in the next.
Common Mistakes That Make Paper Crafts Look Unprofessional
Even a creative design can lose its appeal because of a few avoidable mistakes. Paying attention to small details can make a big difference in the final appearance of your handmade projects.
Here are eight common paper crafting mistakes and how you can avoid them:
1. Using Unsuitable Paper
Using paper that is too thin or too thick can affect the shape and quality of your craft. Always choose paper according to your project's requirements.
2. Uneven Cutting
Rough or uneven edges can make your paper craft look unfinished. Use sharp scissors, a precision craft knife, and a ruler to achieve clean and accurate cuts.
3. Messy Folds
Incorrectly aligned folds can affect the symmetry and overall appearance of your design. Always align the paper edges carefully before pressing each crease.
4. Applying Too Much Glue
Excess glue can create stains, wrinkles, and unwanted marks. Apply a thin, even layer of adhesive and allow each section to dry properly.
5. Using Too Many Colours
Combining too many unrelated colours can make your design look crowded. Choose two or three complementary colours to create a balanced and attractive appearance.
6. Uneven Assembly
When assembling multiple paper pieces, differences in size and positioning can make the finished project look unbalanced. Check the measurements and alignment before joining the pieces.
7. Rushing the Crafting Process
Trying to finish a project too quickly can lead to mistakes, poor folds, and messy finishing. Work patiently and give each step enough time.
8. Ignoring the Final Finishing
Leaving visible glue marks, loose paper pieces, pencil marks, or rough edges can reduce the quality of your creation. Inspect your finished project carefully and correct small imperfections.
Avoiding these common mistakes will help you create more attractive, durable, and polished handmade paper crafts. Remember, professional-looking results often come from patience, precision, and attention to detail.
Frequently Asked Questions About Professional Paper Crafts
1. How can I make paper crafts look more expensive?
Choose quality paper, coordinate your colours, maintain clean edges, create sharp folds, and avoid excessive glue. Simple designs with careful finishing often look more premium than complicated designs with messy details.
2. Which paper is best for professional paper crafts?
It depends on your project. Lightweight origami paper is suitable for detailed folding, while medium-weight craft paper and cardstock work well for flowers, cards, boxes, and decorative projects.
3. How do I make paper folds look neat?
Align the edges carefully, create folds slowly, and press the crease consistently. A bone folder or scoring tool can help when working with suitable thicker paper.
4. What tools do professional paper crafters use?
Common tools include precision scissors, craft knives, cutting mats, metal rulers, bone folders, scoring tools, tweezers, and precision glue applicators.
5. How can I stop paper crafts from looking messy?
Work on a clean surface, measure before cutting, use controlled amounts of glue, keep your folds consistent, and inspect your project before displaying it.
6. Can beginners create professional-looking paper crafts?
Absolutely! Beginners can achieve impressive results by choosing suitable projects, following instructions carefully, using appropriate materials, and practising basic techniques.
Final Thoughts: Small Details Make Beautiful Paper Art
Creating professional-looking paper crafts isn't about making every project complicated. It's about understanding the materials, improving your techniques, and paying attention to the small details that make a difference.
From choosing the right paper and making precise cuts to creating clean folds and applying glue carefully, every step contributes to the final appearance.
Start with simple projects, practise regularly, and experiment with different colours, textures, and designs. Over time, you will develop your own creative style and discover how ordinary paper can become something truly beautiful.
At Tulsi Origami, we believe that every fold has the potential to become a work of art. Whether you enjoy making simple paper flowers, creative DIY decorations, or intricate 3D origami sculptures, let your imagination guide you.
Explore more creative tutorials and discover beautiful paper craft ideas with Tulsi Origami.
Happy crafting!
Comments
0 approved comment(s)
No comments yet. Be the first to share your thoughts!
More from DIY Paper Crafts
Dive into more creative origami ideas, stories, and inspiration.

15 Beautiful Paper Flower Crafts to Brighten Up Your Home
Flowers have a special way of making any space feel welcoming, cheerful, and beautiful. Whether placed on a dining table, displayed on a bedroom shelf, or arranged in a decorative vase, flowers can instantly transform the atmosphere of a home. But fresh flowers require regular care and eventually fade. What if you could enjoy beautiful floral decorations that last much longer?
Read more
15 Creative Ways to Use Scrap Paper for Handmade Crafts
Have you ever finished an origami project, a school assignment, or a handmade greeting card and found yourself surrounded by small pieces of leftover paper? Instead of throwing them away, why not turn them into something beautiful?
Read more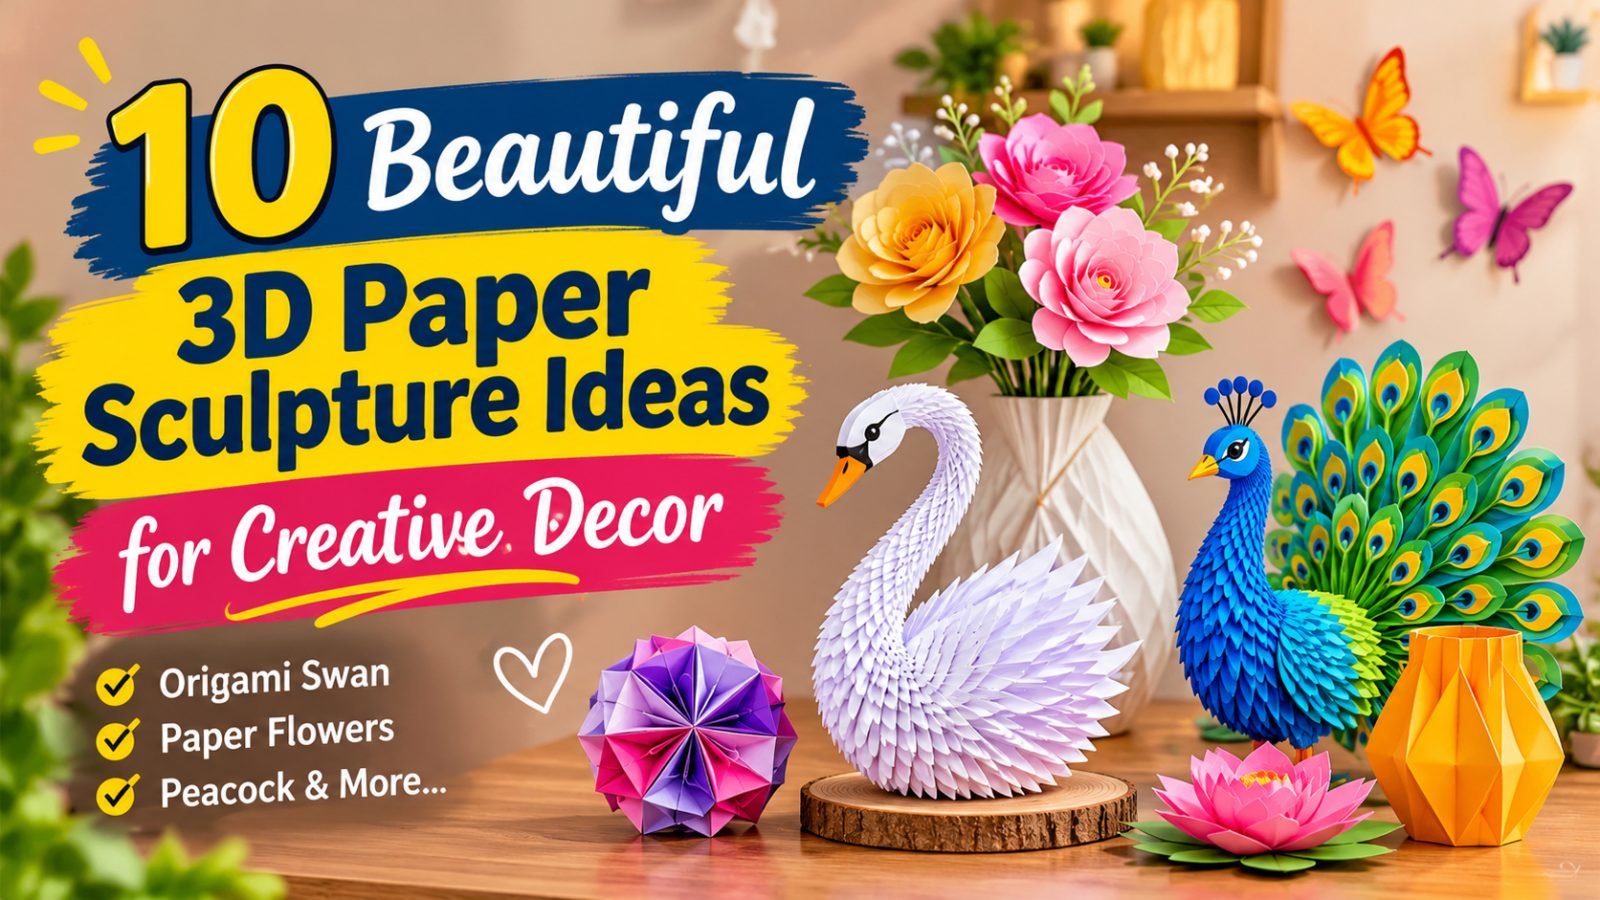
10 Beautiful 3D Paper Sculpture Ideas for Creative Decor
Paper is one of the simplest materials, yet it offers endless possibilities for creativity. With a little imagination, patience, and artistic skill, ordinary sheets of paper can become beautiful three-dimensional sculptures that transform any living space. From elegant folded animals to colorful floral arrangements, paper art brings a unique combination of creativity, texture, and handmade charm into modern interiors.
Read more